How To Clean And Care For Your Motorcycle Leathers


April 11, 2023
Jane Smith, Managing Director
After your motorcycle and your helmet, your biker leathers are the next most vital piece of kit. Riding a motorbike is a physically demanding activity, making use of every muscle group and your brain. One study has even suggested that it can be a physically demanding as an hour in the gym.
But all this strenuous activity will mean that your motorcycle leathers and riding gear will get damp and sweaty, and winter means there is excessive spray from the roads, salt, and all manner of grime and dirt. So how do you clean your motorcycle leathers?
Whether you have a one-piece leather race suit, or a two-piece jacket and trousers, the method is essentially the same. Keep in mind that just because your leathers are not noticeably stinky and sweaty doesn’t mean they don’t need cleaning. Try to remember to give them all a good, thorough clean at least twice a year.
Here’s how to clean your biker leathers
- Remove and wash the lining
Most leathers will have a detachable air-mesh lining that helps make getting in and out of them much easier. Take the lining out of the leathers, and pop them in the wash, taking care to heed the manufacturers washing instructions. Most linings are also anti-microbial, so if you leave them to air dry after washing, they won’t get stinky. With mesh linings we would advise placing them in a bag when placed in the washing machine, so they don’t snag on anything and tear.
- Grime and bugs, the pre clean
Insects, exhaust fumes, and debris from the road will inevitably end up on your leathers, potentially damaging the top layer, and removing the protection and waterproofing that keeps you safe and warm.
Before you begin to look at cleaning your leathers, I would use a soft brush and brush over the leather to remove any lose bug splatter that is on the surface, then using a bamboo pad that is wet with warm water rub over the leathers entire surface to, this will help soften the big splatter and make cleaning a great deal easier and quicker.
- Clean
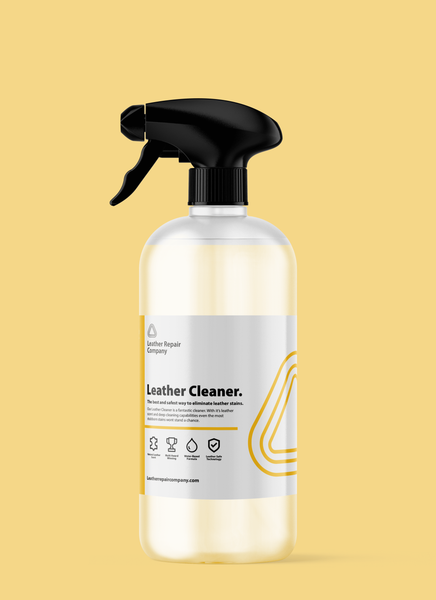
Using the LRC1 leather cleaner, along with the LRC bamboo pads, give the leathers a full wipe down to remove any grime and dirt. Work your way around each panel of the leathers, methodically moving from one to the next. Don’t worry about any stubborn spots at this stage.
Once the initial clean is done, let the suit hang up and give it time to dry out, depending how dirty it was will determine how long it takes to dry, it also depends how old the suit is, a bikers suit that’s many years old will have lost its clear protective coating on the surface and this will let more moisture in than one that’s fully protected with a clear coat lacquer.
Don’t exert too much pressure when cleaning your leathers, you are better doing the clean twice rather than scrubbing hard and damaging the surface coating on the bike leathers. Then, using a bamboo towel or a terry towel wipe the area dry before moving on to the next part of the panel.

- Softening
Once the leathers are fully dried out after the deep clean, you can begin to soften them. The softening crème acts as a barrier of protection also as its impervious to water, the softening crème works great on brand new biker leathers to help soften them to fit easier, as brand-new leather can feel a little stiff and rigid to wear at first until they are worn in a bit. Apply the softening crème with a red applicator pad and massaging in will help soften new leather and give softness to older leather prior to protection being applied.
- Condition
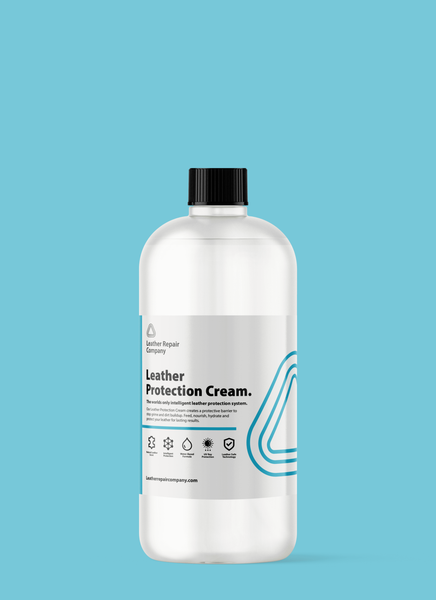
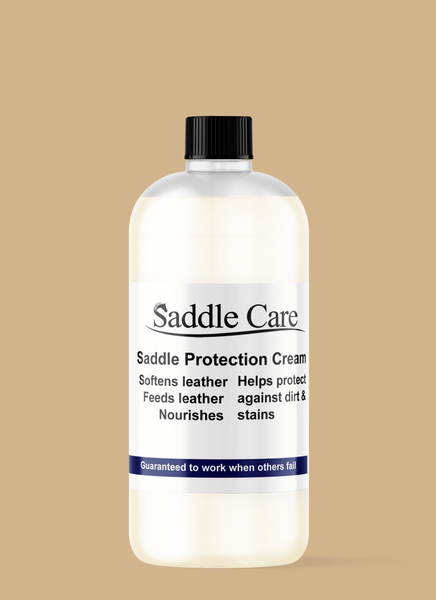
Leather food / protection cream is a great way of keeping your riding kit in the best condition. It’s applied after cleaning and when the suite has aired for a little while. It not only polishes the leather to look good, but it also nourishes it, helps to waterproof it, and can restore the softness of the leather.
Application of the leather protection cream is an easy process, using a red sponge pad, apply a small amount to the pad and rub the pad together so you’re not applying the blob of protection cream directly to the leathers, massage this in, in a circular motion, being careful around areas where you have perforated leathers.
Protection Cream being applied

Application of Leather Guard

- Let the leather dry out naturally
Once you’ve completed cleaning all of the leather kit, hang them up somewhere that has good ventilation, to allow air to circulate. Allow the leathers to dry and soak in the leather food.
Biker leathers can become very dirty if not cleaned regularly, bug splatter can cause staining that may require heavier and deeper cleaning and using ink and stain removers to help remove the bugs fats that will damage the surface coating on the leathers.
If you’re looking for professional leather restoration, talk to us today.
Why Not Contact Us?
Call on: 01482 606864
Email us at: help@leatherrepaircompany.com
