How To Remove A Scratch On Leather

January 27, 2024
Jane Smith, Managing Director
Easily remove all types of scratches on leather.
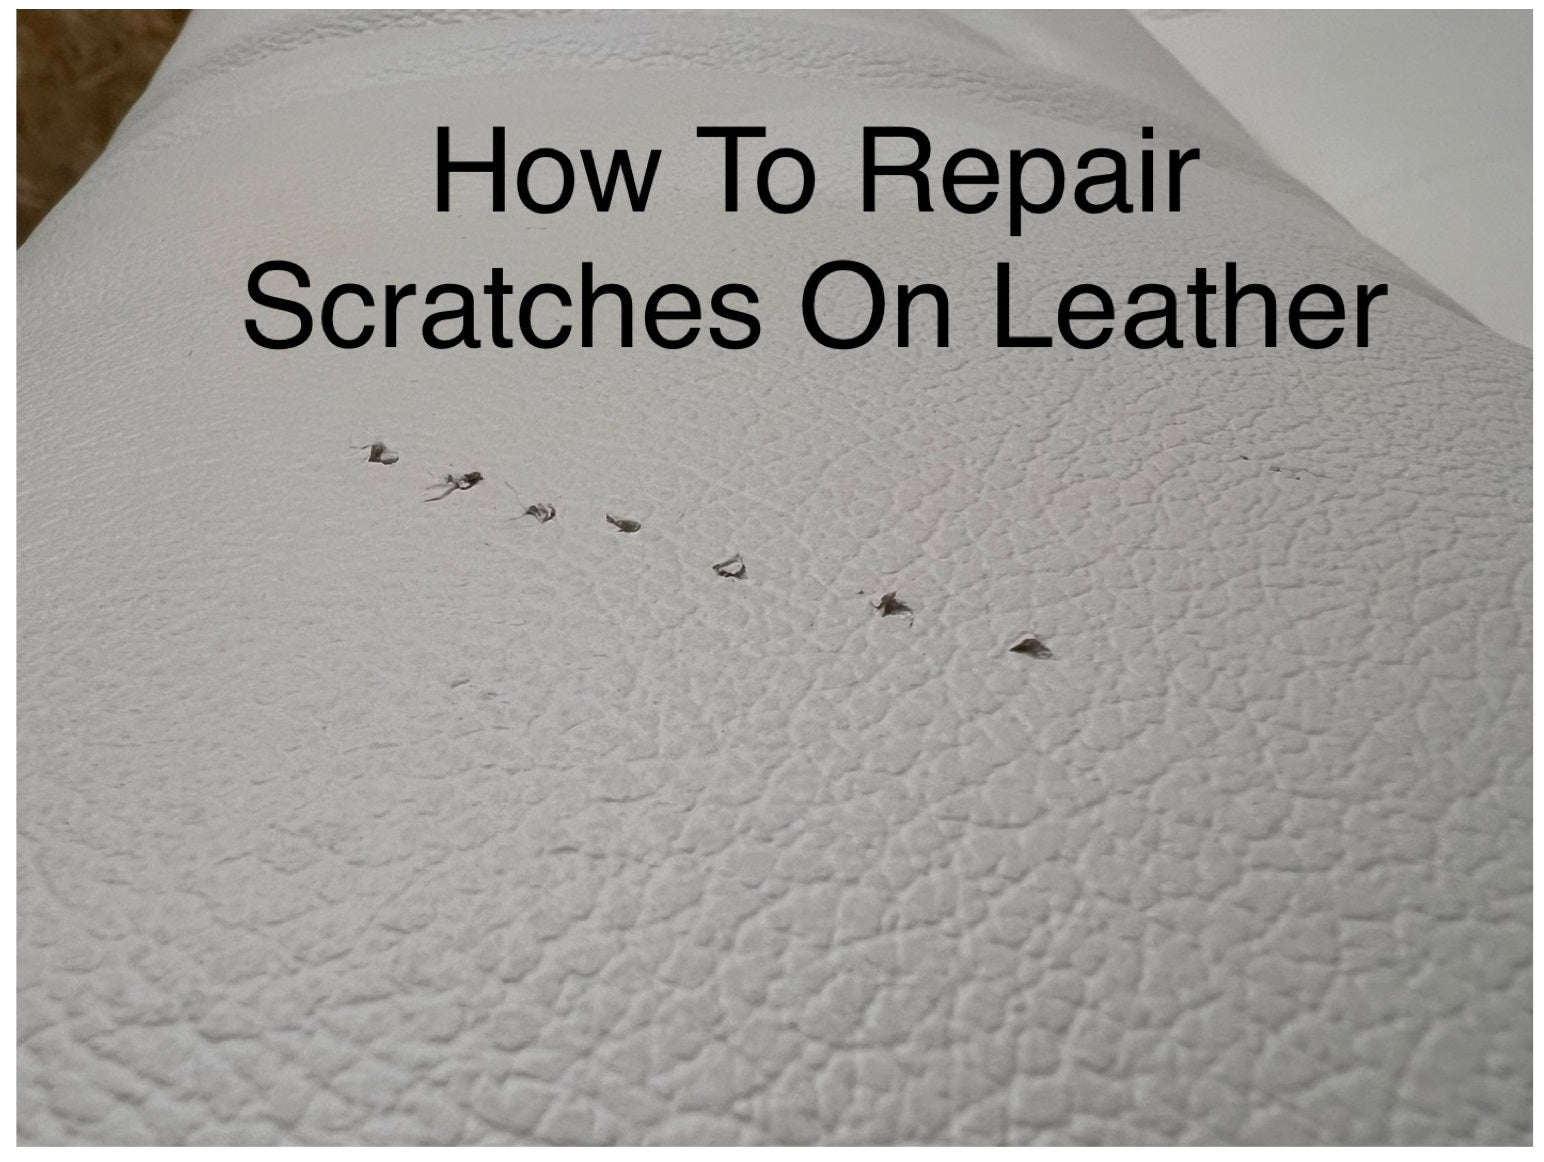
Scratches can make leather look unsightly unloved and lead to further damage taking place. Fixing these must be done as soon as they happen to avoid further costly repairs and we and with our unique system we can show you how to fix these making them invisible.
Tools you will need:
We have listed the tools your need depending on the type of leather you have that has scratches to repair.
Leather paint or a leather repair kit, Leather Cleaner, Leather Cleaning Brush, Bamboo Pad, Bamboo Cloth, Alcohol Cleaner, Toothpicks, Cotton Buds, 320 Sandpaper, 1200 Sandpaper, Fine Needle.
First Step: Clean the leather thoroughly with the leather cleaner if you have a standard pigmented leather use the LRC1 Leather Cleaner, if you have Semi Aniline Leather use the Aniline Leather Cleaner, if your item is a Nappa Leather use the Luxury Leather Cleaner. Clean the full area before you begin, spray on the leather cleaner, working in circular motions move the brush over the surface of the leather on pigmented leather and nappa leather, but on semi aniline leather use the bamboo pad, spray the leather cleaner into the bamboo pad and gently clean the surface moving in circular motions to remove all dirt and grime. Once cleaned allow your leather to dry fully before going to the next steps.
Prepare The Damage: The next step is preparation, this is a simple step, most of the time people make repairs complicated and this process shows you how to make scratches invisible with no glue required. Lightly wipe the area where the scratch is using the alcohol cleaner on a cotton bud, wipe against the scratch so any lose fibres stick up in the air. You don’t need to do any other prep work to the leather other than this.
Mixing Your Paint: This stage is where it all starts to come alive, mixing up the colours to gain the desired shade you need. Using the main base colour, you then mix the tinters into the colour to adjust the shade and tones, see pictures below. Once the desired colour is achieved you can then begin to repair the scratch.
Repairing The Scratch: From this point onwards, we can make the scratch invisible to the eye. Now you have your paint mixed, this becomes your glue as well as, now you need to make sure all loose ends are stood up in the air as far as you can get them see pictures below.

Once that is done start to apply the paint to the underside of the scratch and then push this down in position with the other end of the toothpick, then apply more colour to the scratch and tap down with your finger to help blend in the repair better. Then any small marks can have more paint applied to act as a filler, see video below.
Once you have made the scratch invisible, you can then dab on some colour around the scratch to help blend that away even further.
This is the best way to repair scratches making them invisible without the need of fillers and glues, making for a much better repair that’s more invisible. Allow this to cure for 48 hours and apply some leather protection cream.
Why Not Contact Us?
Call on: 01482 606864
Email us at: help@leatherrepaircompany.com